 To begin, Lenny cut up the zucchini and squash into chunks and placed them into a large bowl
 Then, he chopped up some fresh picked chives, oregano, and some store bought organic garlic. We planted some garlic for the first time this year and it's not quite ready to harvest yet. Once chopped up he divided them equally based on the number of jars he was planning on canning.
 He then placed the quart sized jars on a baking sheet and heated them to 170 degrees fahrenheit. By doing this he not only sterilized the jars but also helped prevent any cracking of the jars when he goes to add boiling water to them. You can also accomplish this by leaving them out in the sun on a hot summer day or boiling them for 10 minutes.
 Because Lenny occasionally likes a little spice, he whipped out a few garden fresh cayenne peppers to add to three of the jars.
 Here, we have a pot of water getting ready to add to the jars once it comes to a boil. We have our canning pot, coming to a boil as well, for when the jars are ready to be cooked. Then you can barely see the sauce pan behind the canning pot where he was sterilizing the lids in boiling water also.
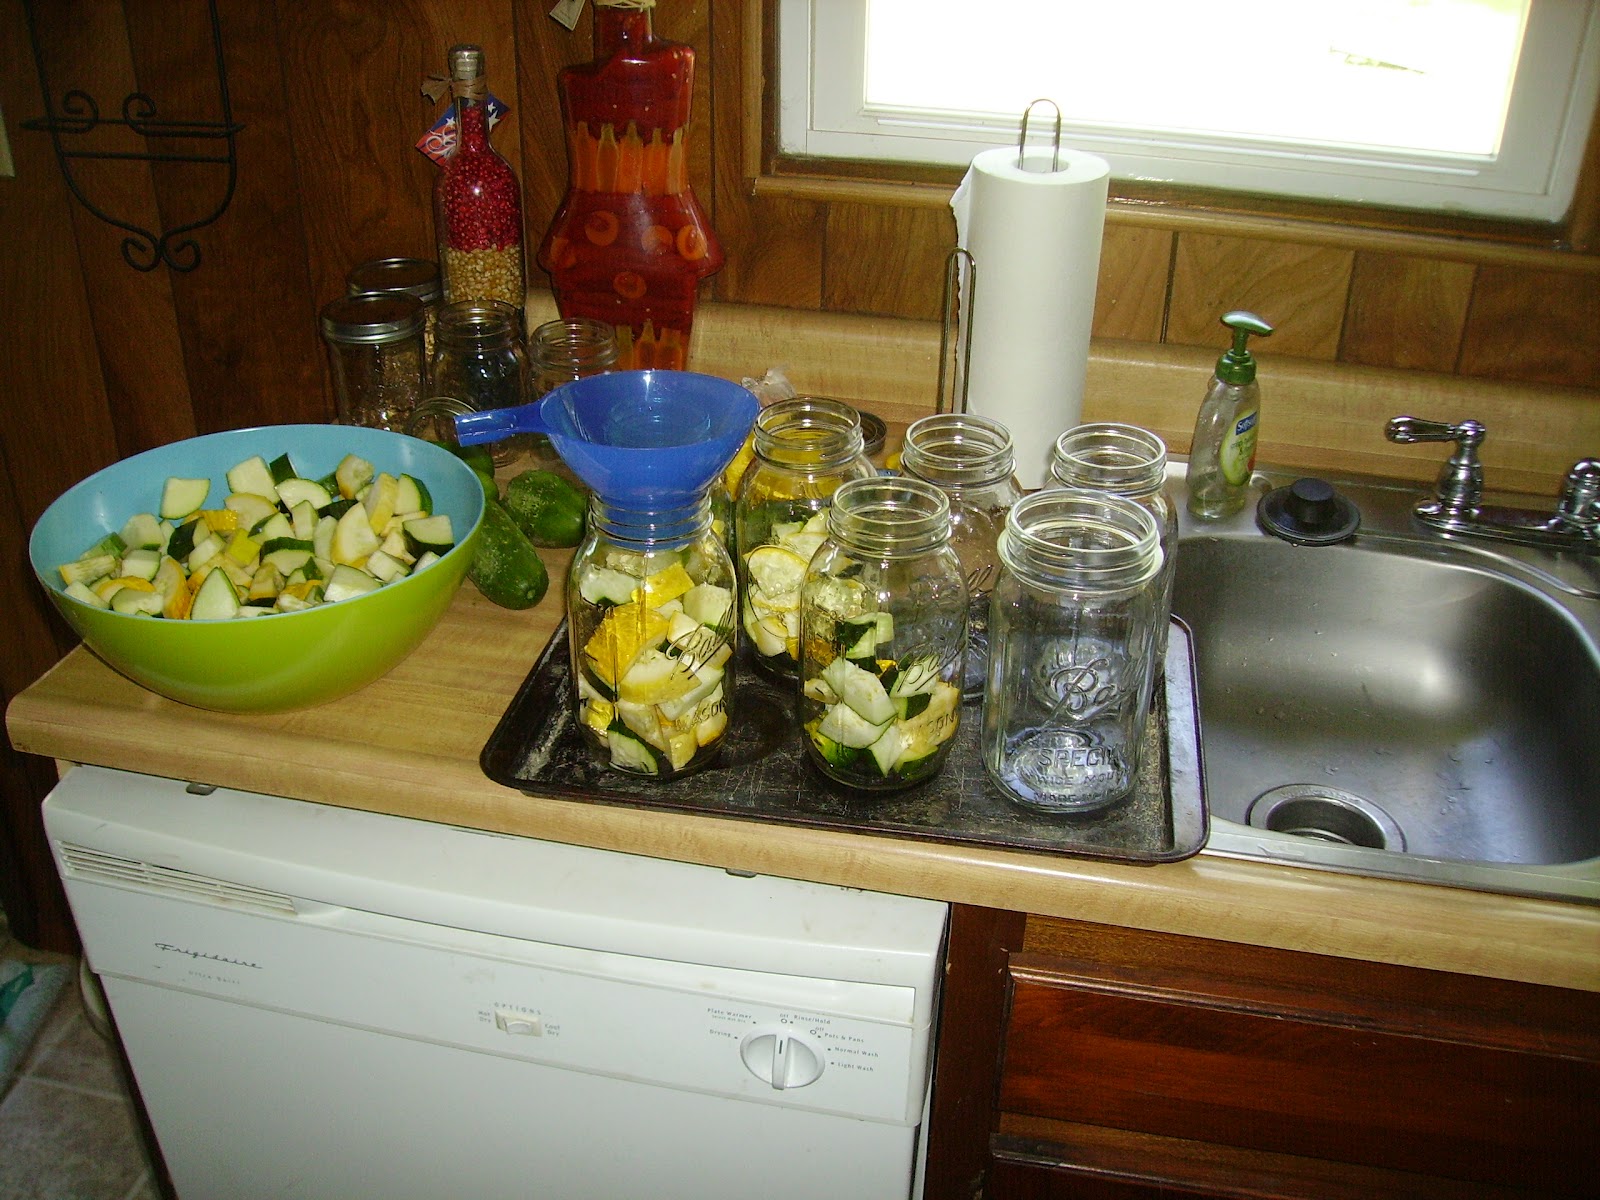
As the above is taking place, Lenny pulled the baking sheet of jars out and began filling them with the zucchini and squash. He packed them relatively tight with about 1 inch headspace.
 As the jars were being filled, Lenny added the spices he had previously chopped and divided along with 1 cayenne pepper for three of the jars. He then took the boiling pot of water and filled each jar with the water making sure to leave a 1 inch head space at the top.
 Once all the jars were filled, with the lids and rings lightly twisted on, they were placed into the pressure cooker. They were cooked at around 11-13 PSI for 30 minutes. After 30 minutes the pressure cooker was removed from heat and allowed to cool until pressure was brought back down to zero. Once there was no longer pressure, the jars were removed from the pot and placed on a towel to continue to cool and properly seal. To tell if the jars have properly sealed you can tap on the lid. They should not make a popping noise. Also you do not want to touch the lids until they have had time to cool and seal because it may disrupt the process. I would let them sit for a few hours or even over night to be safe.
And there you have it, canned zucchini and squash with no added "Natual Flavoring" aka MSG. You won't find that in your average grocery store.
For any questions or suggestions feel free to leave a comment or e-mail us at thehomesteadjones@yahoo.com.
I don't have a pressure canner, just the boil process method. That should still work, right?
ReplyDelete